Creating a Test Active Directory Domain Controller
In this article
Auth0's AD/LDAP integration is relatively easy to set up, but it does require that you have access to an existing AD service and sufficient privileges to install and configure the Connector. What if, however, you'd just like to try out the Connector or set up a dev/test environment? The following steps guides you in creating a minimal AD Domain Controller installation on a cloud-deployed virtual machine for these purposes.
Create a New Windows Server VM on Azure
You can run your VM on any cloud platform, but this guide will walk through how to set one up on Microsoft Azure.
- At the bottom left corner, click NEW, then COMPUTE > VIRTUAL MACHINE > QUICK CREATE
- Complete the form:
- Choose a DNS name. Example:
auth0-test-ad - Image: Windows Server 2012 R2 Datacenter
- Size: D1
- User name:
ad-admin - Password: (generate your own secure password)
- Region: (your choice)
- Choose a DNS name. Example:
- Click the CREATE A VIRTUAL MACHINE button. It will take a few minutes for the VM to provision.
- Click on the ENDPOINTS tab of the new VM, and take note of the PUBLIC PORT for the Remote Desktop endpoint.
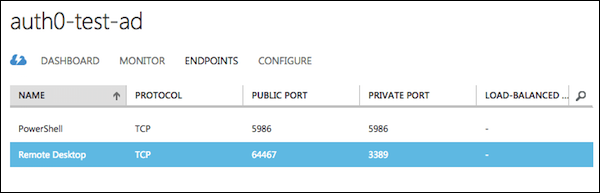
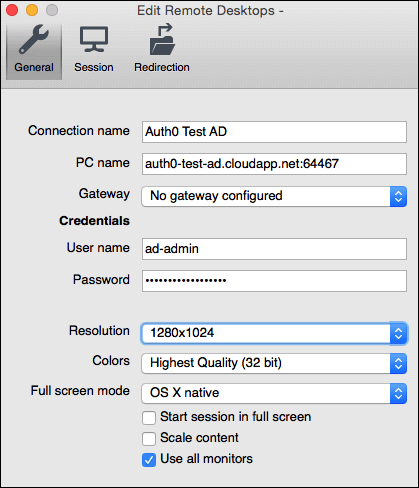
- Open up Microsoft Remote Desktop client (Windows or Mac) or the client of your choice (such as rdesktop for Linux systems). Create a new connection to your VM:
- Open the connection, disregarding any certificate warnings presented by the Remote Desktop client. You should be logged in automatically and eventually see a desktop that looks like this:
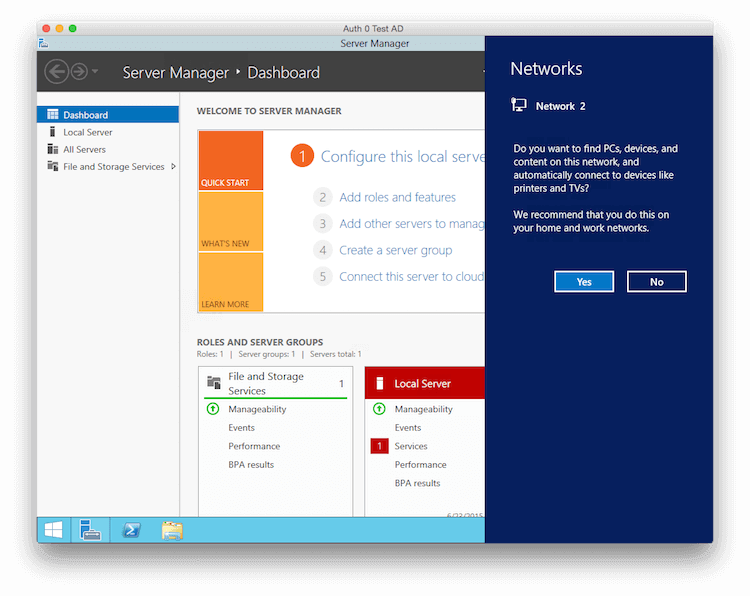
- If you're prompted to find PC's, devices, and content on the local network, choose No.
Install Active Directory Domain Services
- Click the PowerShell icon
 in the Windows Task Bar to open the PowerShell Command Prompt.
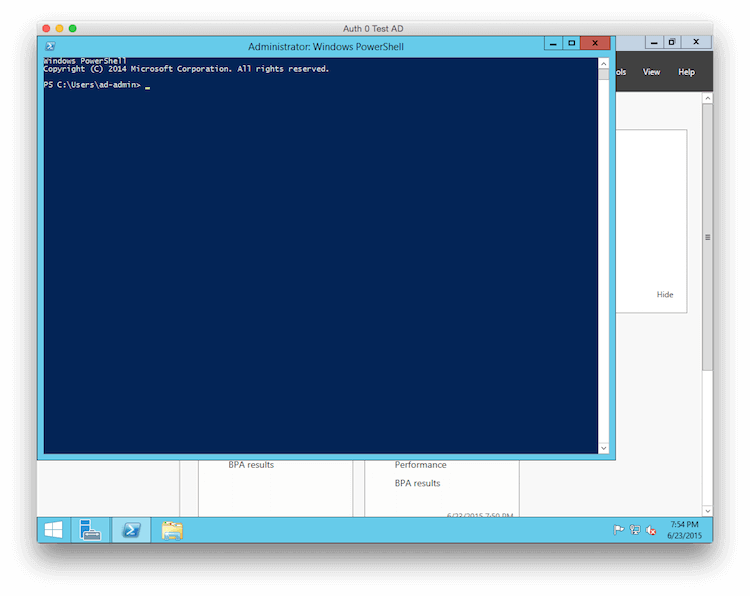
- Install Active Directory Domain Services (ADDS) using this command:
> Install-windowsfeature -name AD-Domain-Services –IncludeManagementToolsWas this helpful?/
Promote the Server to a Domain Controller
- Promote the server to a domain controller that manages a FQDN of
mycompany.local:> Install-ADDSForest –DomainName mycompany.localWas this helpful?/ - When prompted for the SafeModeAdministratorPassword, enter the Administrator password you used when creating the VM.
- You will also be prompted to confirm whether or not you want to continue. Click Enter to do so. The promotion script will run and the VM will automatically reboot.
Add Test Groups and Users
- Once the VM finishes rebooting, log in to the VM using the Remote Desktop client.
- Open the PowerShell Command Prompt.
- Run the following script, which will:
- Create two groups: Accounting and IT
- Create two users: Bob Johnson and Mary Smith
- Add Bob to the Accounting group and Mary to the Account and IT groups
> New-ADGroup -Name "Accounting" -GroupScope "DomainLocal"
> New-ADGroup -Name "IT" -GroupScope "DomainLocal"

> New-ADUser -GivenName Bob -Surname Johnson -Name "Bob Johnson" -SamAccountName bob.johnson -Enabled $True -AccountPassword (ConvertTo-SecureString "Pass@word1!" -AsPlainText -force) -PasswordNeverExpires $True
> New-ADUser -GivenName Mary -Surname Smith -Name "Mary Smith" -SamAccountName mary.smith -Enabled $True -AccountPassword (ConvertTo-SecureString "Pass@word1!" -AsPlainText -force) -PasswordNeverExpires $True

> Add-ADGroupMember -Identity Accounting -Members "bob.johnson", "mary.smith"
> Add-ADGroupMember -Identity IT -Members "mary.smith"
Was this helpful?/
Install and Configure the AD/LDAP Connector
- Using the Auth0 Management Dashboard, create a new Active Directory/LDAP connection with the name
auth0-test-adby following these steps. - Open Internet Explorer with the Ticket URL you saved in step 1.
- Follow the instructions in the browser to download, install, and configure the Connector. When you are prompted for the LDAP service account, use the admin account you created for the VM:
- Username:
mycompany\ad-admin - Password: (same as before)
- Username:
- When you're done configuring and installing the Connector, reboot the server.
- Log back into the VM using Remote Desktop.
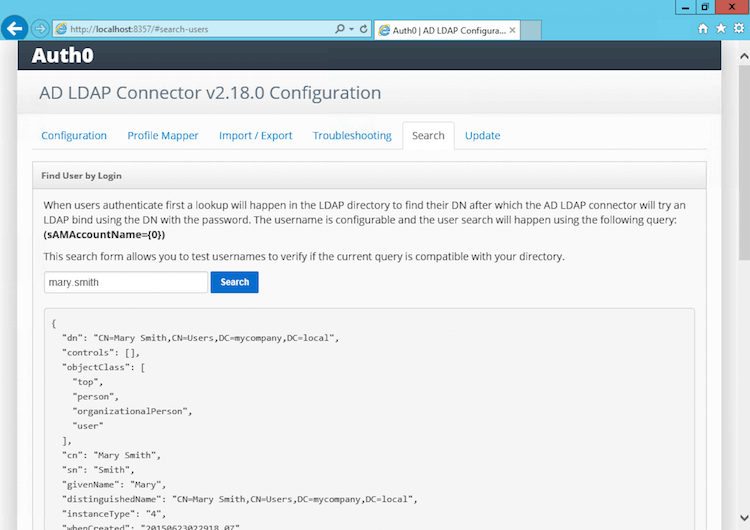
- Open the Connector configuration site by navigating to
http://localhost:8357/. - Check that the Connector is able to find a user:
- Click on the Search tab.
- Under "Find User by Login", type
mary.smith. - Click Search. You should get JSON back that contains that user's AD profile data:
Test an Authentication Flow from Auth0
To ensure that everything is working using your Auth0 account, we're going to configure your Default App in Auth0 to use your new Active Directory / LDAP Connection, and use the
/authorize endpoint to initiate an authentication flow.- Click the Settings icon of your Default App
- Add
http://jwt.ioto the list of the Application's Allowed Callback URLs. - Click the Connections tab.
- Under Enterprise, enable the
auth0-test-adActive Directory / LDAP connection. - Test the authentication flow by opening the following link in your browser:to configure this snippet with your account
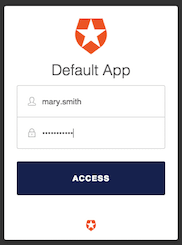
https://YOUR_DOMAIN/authorize?response_type=token&scope=openid%20profile&client_id=YOUR_CLIENT_ID&redirect_uri=http://jwt.io&connection=auth0-test-adWas this helpful?/ - Log in with one of the test users that was created in the directory:
- Username:
mary.smithorbob.johnson - Password:
Pass@word1!
- Username:
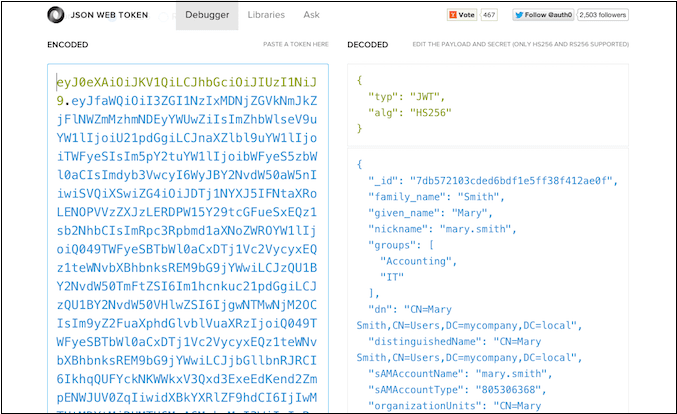
- If everything is working, you should be redirected to the JWT.io website to see the contents of the resulting JWT:
No comments:
Post a Comment
Note: only a member of this blog may post a comment.